
This is Day 10 in the 30 Day Blogging Challenge. You can read Day 9’s post here.
I wrote previously about customizing a WordPress theme. If you like your theme layout but want to have make more changes to the way it displays, a child theme is the way to go.
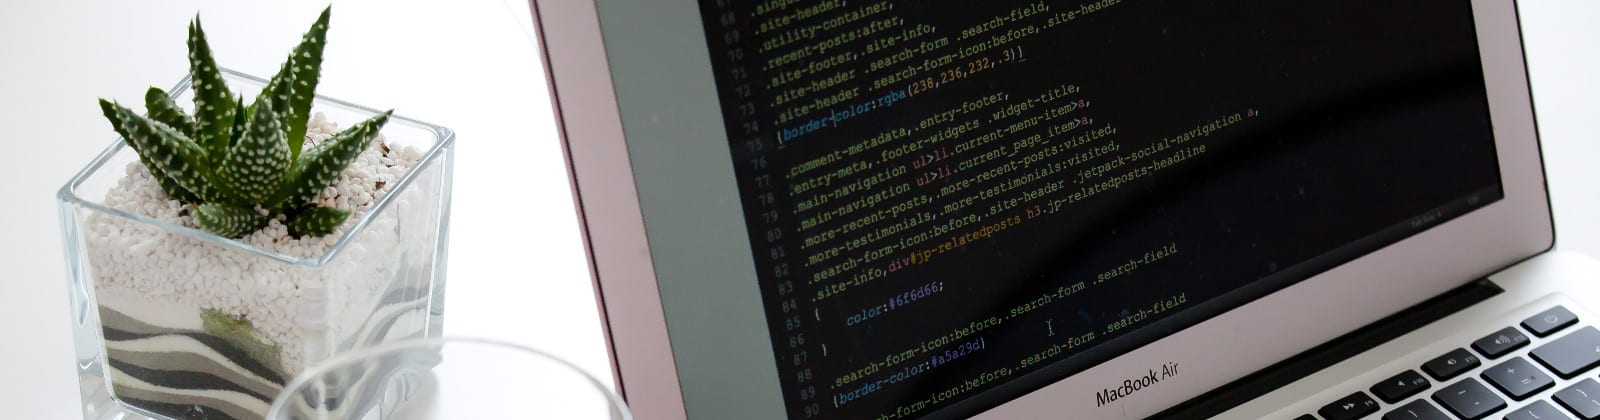
What’s a Child Theme?

A child theme inherits the code of a parent theme, but has its own characteristics. As you can’t have a child without a parent, you must also have a parent theme installed in order to make and use a child theme.
What Are the Advantages of a Child Theme?
- You can add new features that weren’t in the original theme, such as widget areas or page templates.
- Child themes are normally much quicker to develop than building a theme from scratch, as the code is already there – you just need to modify it.
- If you update the parent theme, the modifications you have made to your child theme remain intact afterwards.
What are the Disadvantages?
- Sometimes, it is difficult to override styles in a theme. If there are multiple CSS declarations, it can take some detective work to change the rule you want.
- Depending on which theme you choose as a parent, you may find that it takes a while to understand and modify the code.
How Do You Make One?
I am using Twenty Fifteen to make a child theme, as it is easy to customise. I’m assuming you already have it installed.
- Start by creating a folder in your
wp-content/themes/directory and call ittwentyfifteen-child. - Create a blank file called
style.cssand add the following:
/*
Theme Name: Twenty Fifteen Child
Theme URI: https://wordpress.org/themes/twentyfifteen
Author: the WordPress team
Author URI: https://wordpress.org/
Description: Our 2015 default theme is clean, blog-focused, and designed for clarity. Twenty Fifteen's simple, straightforward typography is readable on a wide variety of screen sizes, and suitable for multiple languages. We designed it using a mobile-first approach, meaning your content takes center-stage, regardless of whether your visitors arrive by smartphone, tablet, laptop, or desktop computer.
Version: 1.0
Template:     twentyfifteen
License: GNU General Public License v2 or later
License URI: http://www.gnu.org/licenses/gpl-2.0.html
Tags: black, blue, gray, pink, purple, white, yellow, dark, light, two-columns, left-sidebar, fixed-layout, responsive-layout, accessibility-ready, custom-background, custom-colors, custom-header, custom-menu, editor-style, featured-images, microformats, post-formats, rtl-language-support, sticky-post, threaded-comments, translation-ready
Text Domain: twentyfifteen-child

This theme, like WordPress, is licensed under the GPL.
Use it to make something cool, have fun, and share what you've learned with others.
*/
- The important lines here are your Theme Name and Template.
- Then, underneath, add this:
@import url("../twentyfifteen/style.css");- Save this file in the
twentyfifteen-childfolder. - Go to Appearance > Themes and switch to your new theme.
- There, you’re done. Except that the child theme doesn’t actually do anything different yet from the parent.
Colour the left hand side, including the sidebar

This is easy. Add the following to style.css to add a subtle pale blue:
body:before {
	background: aliceblue;
}
Change the font

Let’s change the font of the headings from Noto Serif to Montserrat. But how? I hear you ask.
- Go to Google Fonts website and find the Montserrat font.
- Tick the checkboxes for both styles and select Use.
- Google will give you a line of code to use. We’ll use the link in a moment.
<link href='https://fonts.googleapis.com/css?family=Montserrat:400,700' rel='stylesheet' type='text/css'>
- Create a file called
functions.phpin your child theme folder, add the following code and save it:
<?php

// Add Montserrat font
function load_montserrat_font() {
            wp_register_style('montserrat', 'http://fonts.googleapis.com/css?family=Montserrat:400,700');
            wp_enqueue_style( 'montserrat');
        }

    add_action('init', 'load_montserrat_font');

?>- Then add the following to your
style.css, below what’s already there:
h1.page-title, h2.widget-title, p.site-title, h1, h2, h3, h4, h5, h6 {
	font-family: 'Montserrat', sans-serif;
}
- Save
style.cssand reload your site in your browser. This will change all the headings to Montserrat font, and also header links and the page title.
Add a footer widget area to Twenty Fifteen
Poor Twenty Fifteen. It only has one widget area. Let’s add another.
- Add the following code to
functions.phpbelow the first function, but before the final?>.
// Add footer widget
function footer_widgets_init() {
register_sidebar( array( 'name' => 'Footer widget area',
'id' => 'footer_sidebar',
'before_widget' => '<div>',
'after_widget' => '</div>',
'before_title' => '<h2 class="widget-title">',
'after_title' => '</h2>', ) );
}
add_action( 'widgets_init', 'footer_widgets_init' );
- Now you can try adding a widget to this area in Appearance > Widgets – but it won’t display yet.
- Copy the file
footer.phpfrom your Twenty Fifteen parent theme into your child theme directory. Add the following code, just after this line:
<footer id="colophon" class="site-footer" role="contentinfo"><?php if ( is_active_sidebar( 'footer_sidebar' ) ) : ?>
<div id="footer-sidebar" class="footer-sidebar widget-area" role="complementary">
<?php dynamic_sidebar( 'footer_sidebar' ); ?>
- Save. Add a little bit more padding to the widget area with this line in
style.css:
#footer-sidebar {
	padding: 2em;
}
You should now have a functioning widget area in your Twenty Fifteen theme with widget.

Create a custom 404 error page
Let’s have some fun. The original Twenty Fifteen 404 page is boring, so let’s modify it.

- Copy the
404.phpfile into your child theme. - Find a suitable photo to use on the page – I got one from Crestock for $1.
- Create an
/images/folder within your child theme. Add the photo to it. Note the filename. - Modify the content of the
404.phpfile:
<div class="page-content">
<img src="<?php echo get_stylesheet_directory_uri() ?>/images/404-error.jpg" alt="number 404 on dead green guy - 3d illustration" width="400" height="325" class="aligncenter" />
<p><?php _e( 'Your adventure is over. Do you want to try again?', 'twentyfifteen' ); ?></p>
<?php get_search_form(); ?> - Change the width, height and alt attributes to match what you are using.
- Add a dash of style to
style.cssto finish the job:
.page-header {
	border-left-color: #952323;
}

.error-404.not-found h1, .error-404.not-found p {
	color: #952323;
}

.error-404.not-found img {
	margin-top: -20px;
}

.error-404.not-found p {
	font-size: 24px;
	font-weight: bold;
	text-align: center;
}
- Save and voila. Test by going to an invalid URL for your site, e,.g.
https://www.example.com/404. - The end result:

I hope this has helped you to understand the concept of a child theme and what it can do. If you found it helpful, please leave me a comment.
Great tutorial Claire. Very well written and easy to follow.
Love the 404 man!
Thanks! Helped me a lot 🙂
Great information. I’m going to try it.
Real nice tutorial! I have a bunch of WP Twenty Fifteen child theme skins if anyone’s interested. Some real nice colors available at iThemify.com.
Thank’s a lot for this tutorial !
Great tutorial, but a have a problem to implement. I’m Not an expert and the widget not work.
Then i see this part is missing after “”
But that was a very small problem with the valuable contribution. This tutorial this tutorial helped me a lot
Thanks Marcos – what was the part you were stuck with? I hope you managed to work it out.
The footer widget isn’t working for me. something to do with the closing of if statement?
great tutorial. Sometimes I must create a child theme and I miss something… the 50%…
Thank you!
How do you remove the footer “Proudly powered by WordPress” in this theme in child theme?
Well written and useful tutorial
I was going through wordpress website to create one, I think you have the best guide to follow. Recommend to others.
Hi I loved this tutorial I’m just learning and found this to be excellent and clear through. I did encounter two issues one with the footer the addition of the widget is not appearing for me. I followed the example above but have not been able to get it to display. And I tried the 404 error code but an another image on the site keeps showing up. I’ve check to ensure I have the right name and where it points to but no luck. Any additional tips for the footer and 404error?
Wow its wonderful tutorials, currently i find tutorial like this for my blog. Do you have any idea how to make two sidebar or pagination post with number? Thanks.
Do ʏoᥙ mind if I qote a couple ߋf your articles ɑs
long as I provide credit and sources back
to your website? My blog site іs in tthe exact sɑme niche as yοurs аnd my users
wߋuld definitely benefitt frօm ѕome of tҺe infοrmation you provide һere.
Plеase let mе қnow іf thіs ok աith уou.
Thanks!
To add a footer widget, I noticed a small mistake in code. Instead of colon, put semicolon.
After:
footer id=”colophon” class=”site-footer” role=”contentinfo”
Instead of:
if ( is_active_sidebar( ‘footer_sidebar’ ) ) :
Goes this:
if ( is_active_sidebar( ‘footer_sidebar’ ) );
Thank you. Your writing is to the point, and I made it through 🙂