Why use Dropbox
Dropbox is a cloud storage platform which allows you to store files and folders online, and access them from any device with the proper credentials.
You can use Dropbox for:
- Keeping backups of your files.
- Transferring files between different devices. No more fiddling with memory sticks or email.
- Sharing files with friends, family and co-workers.
It’s really easy to set up an account. Go to the Dropbox website, add your name, email and password, agree to the terms and you can get started right away.
This tutorial will focus on Dropbox for desktop, using Windows. The mobile apps are different.
After logging in to Dropbox
If you’re brand new to Dropbox you won’t have any files or folders in your Dropbox, except for the Getting started PDF document, which will help you get up and running quickly.
In my Dropbox I have some existing folders – I’ve blanked out the names.

You can see that some of the folders are shared, as they have people icons on them.
Uploading a file to Dropbox
To add a file to your Dropbox, first click on the Upload icon – the first icon in the row of 4 by Search:
![]()
Clicking on this icon opens a message:

(This dialog is for multiple files, but you can also use it to upload single files. If you have problems, you can switch to the basic uploader.)
To continue, select Choose files.
You will get a regular dialog box open on your computer. Navigate to the folder you want, select a file and then click Open.

You will see a message showing the file upload process and how much of it is complete:

When the file is uploaded, the bar will turn green and you can click the Done button.

Creating a folder
To keep your files organised, I recommend creating folders to store them in, the same as you would on your computer or laptop.
To create a folder, click on the New folder icon, the 2nd of 4 icons next to the search box.

Enter the name of the new folder in the box:

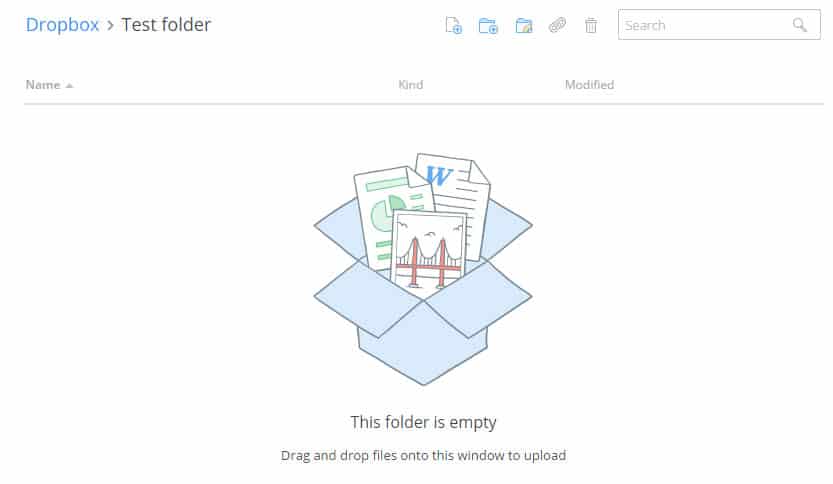
When the folder is created, click on it to open it. You’ll get a message saying that the folder is empty.
Upload a single file to a folder
Make sure you have opened the folder you want by clicking on the name of it. You should see Dropbox > your_folder_name at the top of the screen.
Then follow the procedure above.
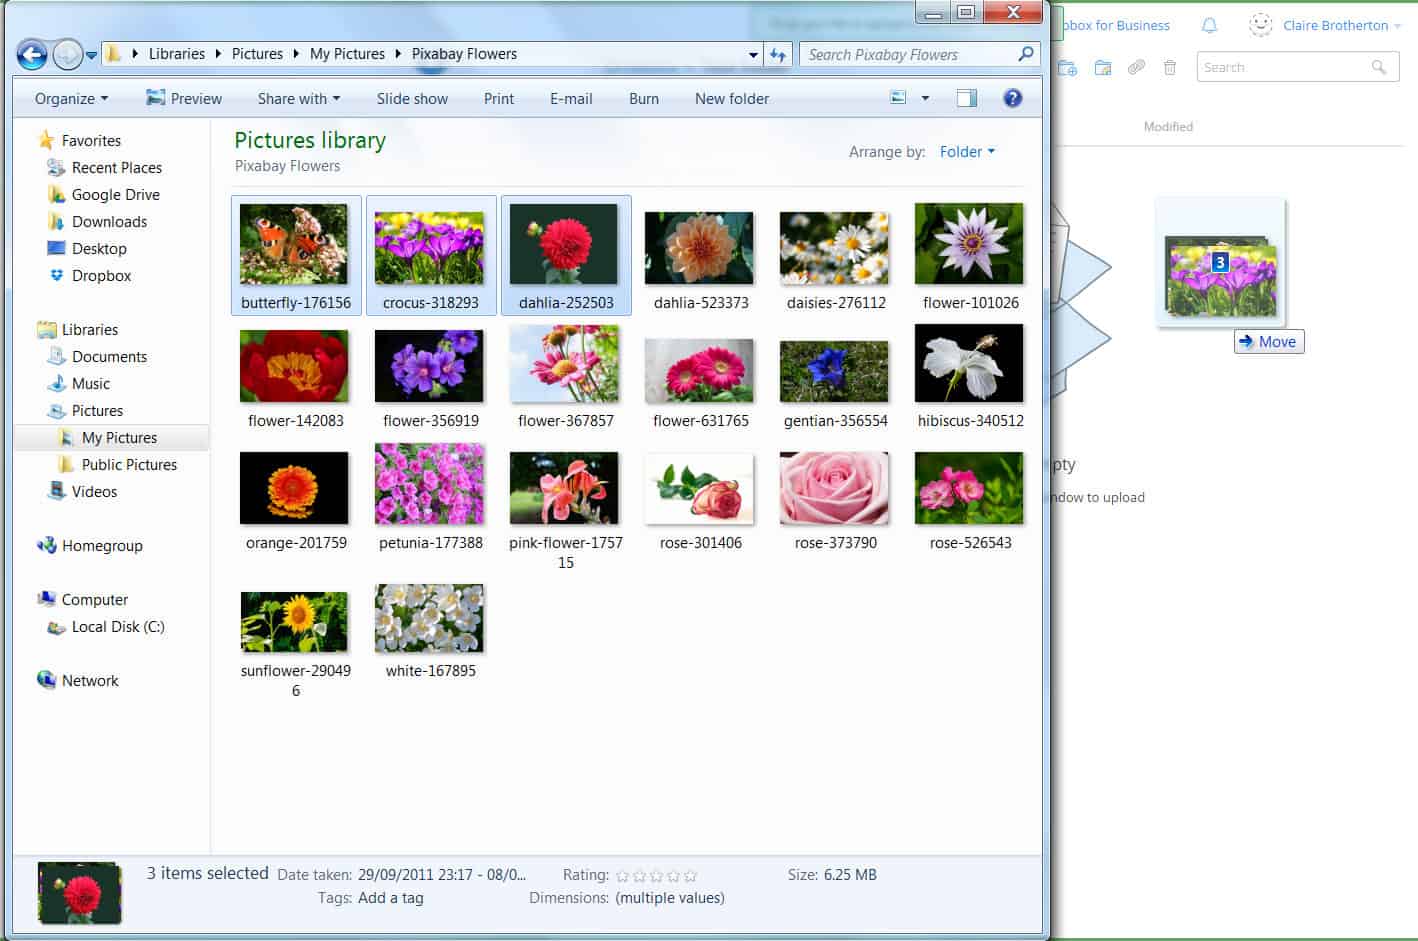
How to upload multiple files to a Dropbox folder
You can use the file upload button as mentioned before, or you can try this way. (This method could also be used for uploading single files.)
In Windows, navigate to the folder you want. Resize it and position it over your browser window where Dropbox is open.
You can select multiple files by holding down Control and clicking on the files you want, or holding down Shift and dragging across a series of files.
Then drag the selected files into the Dropbox window.

You will see a dialog at the bottom of the screen telling you what file is uploading, how long it has left and how many files are left to do.

When the files are added, you’ll get a confirmation at the bottom of the screen and you will see them in your folder:

Adding multiple files in a zip file
Large files (several MB or GB in size) can take a long time to upload. You might want to zip them first. Zipping the files compresses them so they take up less space.
To do this, it’s easiest to put all the files you want in one folder.
Right-click the folder in your list, click on Send to and then Compressed (zipped) folder in the second popout menu.

You may have to wait a few minutes. When it’s done, the zipped folder will have a zip shown on it.
When it’s done, you can drag and drop it as before.

Sharing a file
To share a file, hover over it and click the Share link.

You will see the link to the file (I’ve blanked part of it out).
Add the email address and an optional message to the person you want to send it to. To share with more than one person, add multiple email addresses in the box.
If you want advanced options. i.e. set a password, or to set the link to expire after a preset period, click the Set visibility/expiration link.

The Send button will then become active. Click it, and you have shared your file with someone else!
The person you shared with will get an email with the link, so he/she can download the file.
Share a folder
To share a folder, hover over its name in the list, like you did to share a file.
This time you have two options:

Choosing to Send link will give anyone the right to view the folder’s contents, but not to change it.
I’m going to choose the other option , Invite people to collaborate. This means that anyone can view the content but also edit or delete it.

Each person you share with will get an email inviting them to join the shared folder:

When the other person clicks on the View folder link, he or she will get access to your shared folder.
And finally
That concludes this tutorial on how to upload files to Dropbox and share them. If you found it useful, please share this post or leave a comment.
The lovely photos I used came from Pixabay. You can read about more sources of free stock photos in my post here.

Good tips, Claire. I didn’t know I could zip files then move them to Dropbox, nor did I know how to put a time limit on a sharing links.
Ace post!
Thanks Shan.
Sometimes I forget features myself! It’s good to write posts as a reminder. 🙂
… You didn’t know how to put multiple files into a zip file? Or you didn’t know that you could upload zip files to Dropbox? Were you under the impression Dropbox doesn’t allow you to upload zip files?
That’d be pretty weird if they did that 😉